Before & After Widget
Before & After Widget
The Before & After widget enables you to show two images, side by side, for an eye-catching and engaging visual comparison. The widget includes a customizable slider to move between the two images.
To add the widget:
- In the left panel, click Widgets.
- Click and drag the Before & After widget into your site.
To learn more about adding widgets to your site, see
Add Widgets.
To learn more about creating page layouts using rows/columns and inner rows, see
Arranging Content
Content Editor
- Right-click the widget, and click Edit Content.
- Click + Image to add the before and after images.
- Type labels for the images. To hide the labels, click the eye icon.
- Type Alt text
- for the images.

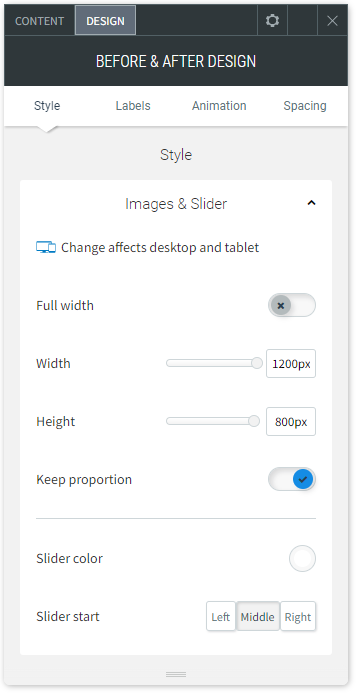
Design Editor
- Right-click the widget, and click Edit Design.
- To customize the images and slider, click Images & Slider.
- To customize the label style and text, click Labels
- Make sure the design settings you define are correct per device. Settings such as spacing, image size and more are defined per device. For more information, see Edit by Device.