
Media Management
The Media Manager allows you to upload and manage all media file types (images, videos, audio, and files) from one place. Media files can be uploaded from your computer, Facebook, Dropbox, Google Drive, Google Photos, or Instagram. Once uploaded, you can organise each type of media into folders and then add the content to your website via various types of widgets.
Uploading Media Files
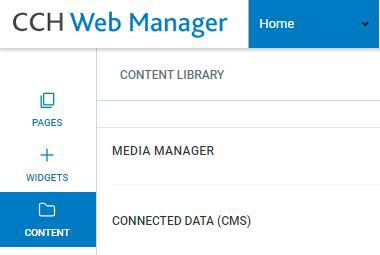
To upload a media file click CONTENT on the left-hand menu in the editor, then click MEDIA MANAGER.
Then select the appropriate option for the media file type you are uploading (Images/Videos/Audio/Files).
Then click the Upload button.
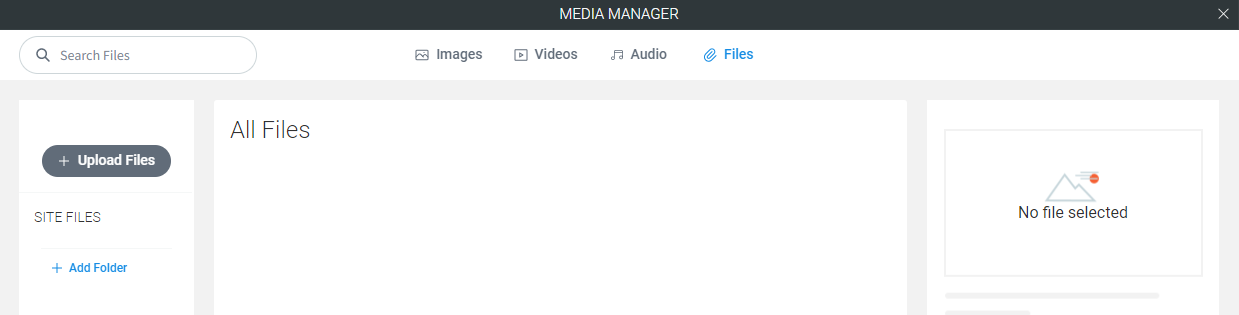
There are multiple ways you can select media files to upload:
- My Computer
- Dropbox
- Google Drive
- Drag and drop a media file or multiple files at a time directly into the upload file window

When uploading image files to the Media Manager you may want to consider what you will be using the image for. Images can be added to existing image headers, photo galleries, staff profiles or as a stand alone image. To help give you a better understanding of what size images should be for different purposes, please view our image size guidelines. For more information about managing and editing your image files and applying them to widgets, please view our Image Management page.
Creating Folders and Organising Media Files
Adding folders to the Media Manger is a great way to keep your different media files organised.
To create a folder, click + Add Folder in the left hand menu of the Media Manager, give the folder a name and click Done.
Adding Media Files to Folders
To add media files to a folder, select the file or files you want to move then on the right hand panel select the folder from the drop down list you wish to move the files to. These steps apply to all media file types (Images / Videos / Audio / Files).
Applying Media Files to your Website's Content
Once you have uploaded media files to the Media Manager they can be added to your website using Widgets.
Note: Some widgets will allow you to upload media files directly from the Widget's content window. If you upload a media file through a widget it will automatically be added to the Media Manager.
When uploading an image file or video file via a widget you can view those files in the Media Manager by clicking the Full View button when uploading/selecting a file.

Images
Images are added to pages using the Image Widget. Use the Image Widget to insert an image into your site. You can customize images to act as buttons and navigate to other pages or sites, download files, or activate popups. Images can also be added through other widgets such as the Image Slider Widgets, the Photo Gallery Widget and the Staff Profile Widget.
Videos
The Video Widget allows you to add an uploaded video file to your site's content. Alternatively, you can also display YouTube, Vimeo or Dailymotion videos by entering their URLs in the Video Widget's content tab.
Audio
Audio files are added to your website using the Audio Widget. As well as being able to add uploaded audio files you can also add SoundCloud or Mixcloud audio files by entering their URLs in the Audio Widget's content tab.
Files
The File Widget allows you to create a button which once clicked will download a selected file from the Media Manager. Files can also be linked to from the text and image Widgets. You can learn more about linking to files and file management here.