Map Widget
Map Widget
Show your visitors a map of any location you like. Use the Map widget to show the location of your brick-and-mortar business or a special event. You can also use it to show customers where they will find parking.
To add the Map widget:
- In the left panel, click Widgets.
- Click and drag the Map widget into your site.
To learn more about adding widgets to your site, see Add Widgets.
Content Editor
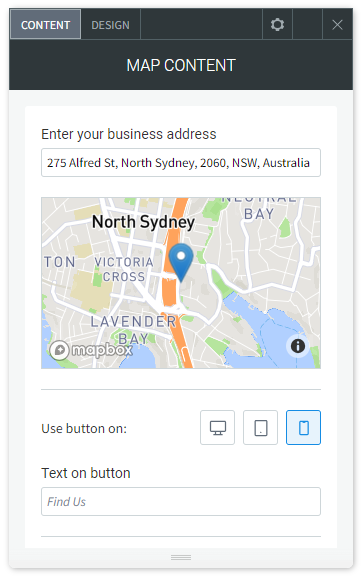
To access the content editor:
- Right-click the widget, and click Edit Content.
- Type your business address in the field provided.
- Select the address from the drop-down that appears. If your address does not show up in the drop-down, it means we are unable to find it. To get around this problem, try linking a button widget directly to the map URL in Google Maps instead.
- You can choose to display a map button instead of a map image. To display a map button on specific devices, select the
Use button
on
 devices you want the button to appear. If no devices are chosen, the map image will be displayed.
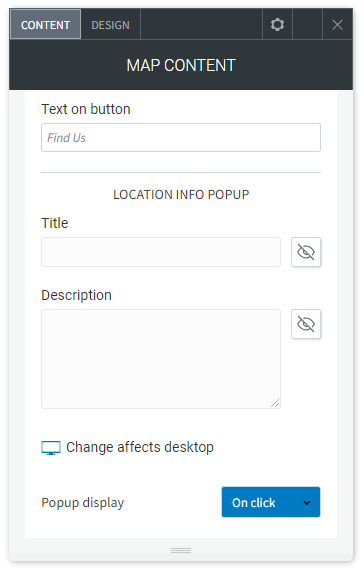
 - Type the text that you want to appear on the button in the Text on button field provided.
Display Location Info Popup
To display a location information popup on the map widget:
Type a title and description for the popup.
Select to display the popup On hover, On click, or Always from the Popup display drop-down.
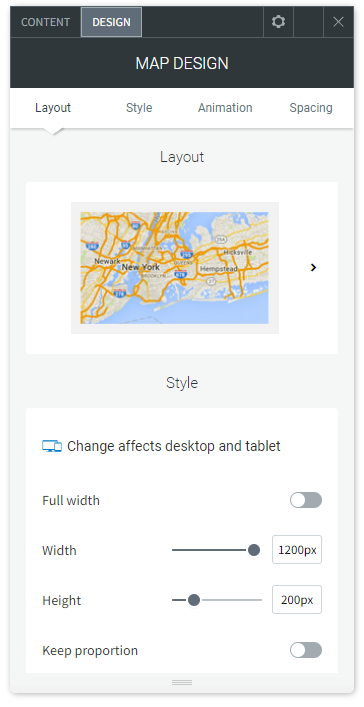
Design Editor
To access the design editor, right-click the widget, and click Edit Design.
Click the Layout tab to edit the design of the map that appears on your site.