Table Widget
Table Widget
The Table widget allows you to display text data in a table layout with rows and columns. Content can be added to the table by copying and pasting an existing table, using the editor, or uploading a CSV.
NOTES
- The table can include up to 30 rows and columns.
- You can upload a CSV exported and copied from Google Sheets or Excel (non-RTL languages, only).
- Table can only include text and links. Use rows and columns or List widgets to create a table with images, buttons or other widgets.
- In Edge version 17 the Table editor can not be opened. However, it works correctly in Edge 18.
To add the widget:
- In the left panel, click Widgets.
- Click and drag the Table widget into your site.
To learn more about adding widgets to your site, see Add Widgets.
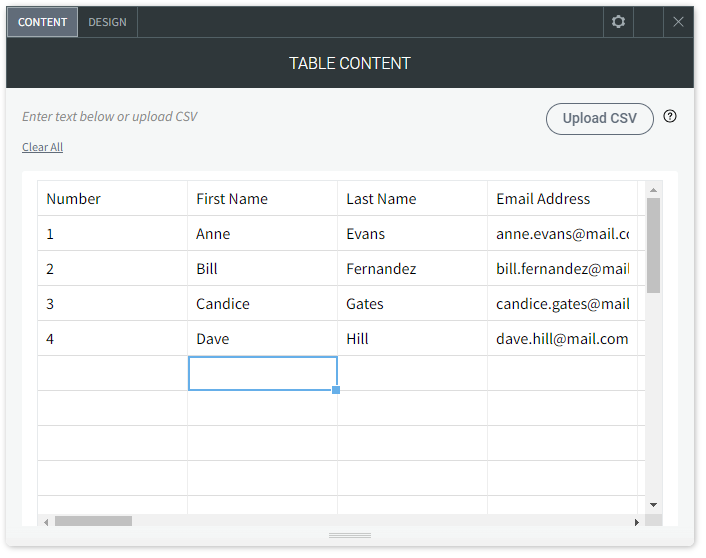
Content Editor
You can add data to your table three ways:
- Typing in the editor.
- Copying and pasting an existing table.
- Uploading a CSV.
Use Clear All to clear all data from your table.
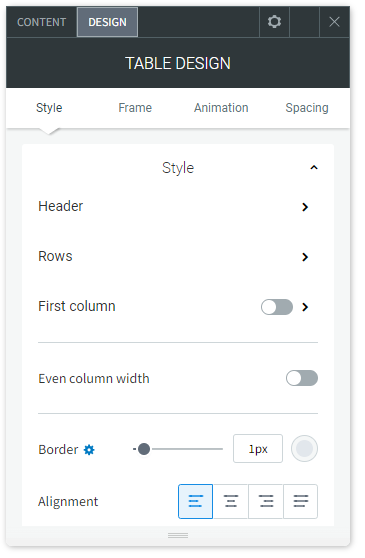
Design Editor
- With the design editor you can customize the table border, title bar, first column, background color, and text style.
- The first column can be customized to have its own background color, font type, size, and color.
- Even and odd row colors can also be customized to make data easier to read.
- Column width can be set as equal or based on the width of the title, in which case the columns may not be equal.
On mobile you can select one of the following displays:
- Squish. This is best to use if you have 2-3 columns, fitting your content to the screen width.
- Scroll. This is best to use if you have many columns. You can also resize the widget and show a vertical scroll if your table is too long.
- Collapse. Another detailed way to present your data, recommend not to choose this layout if you have too many rows.